I’m so excited to share another project I created using the Cute as a Bug Suite! This adorable suite of stamps, dies, and Designer Series Paper makes it so easy to create whimsical, fun cards and I couldn’t resist trying a swing fold card to create a fun card with a bit of a twist (pardon the pun)!
What is a Swing Fold Card?
A swing fold card is a fun interactive design where part of the card rotates or swings when you pull it open. It’s perfect for highlighting multiple images, patterns, or sentiments in one playful design.
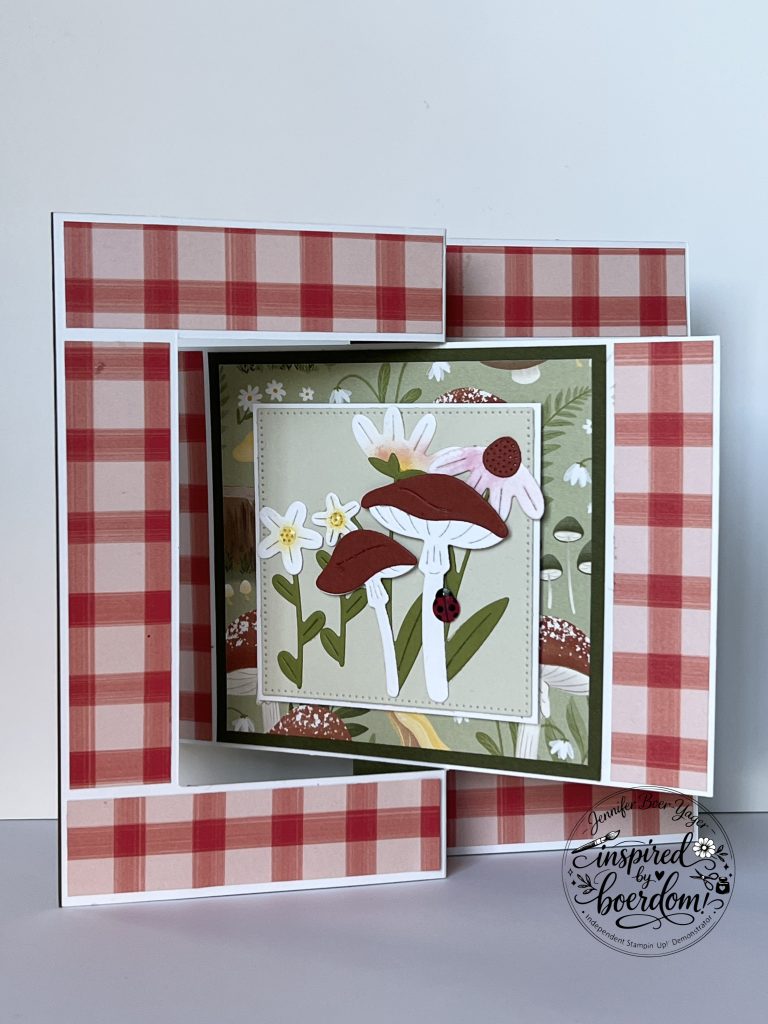
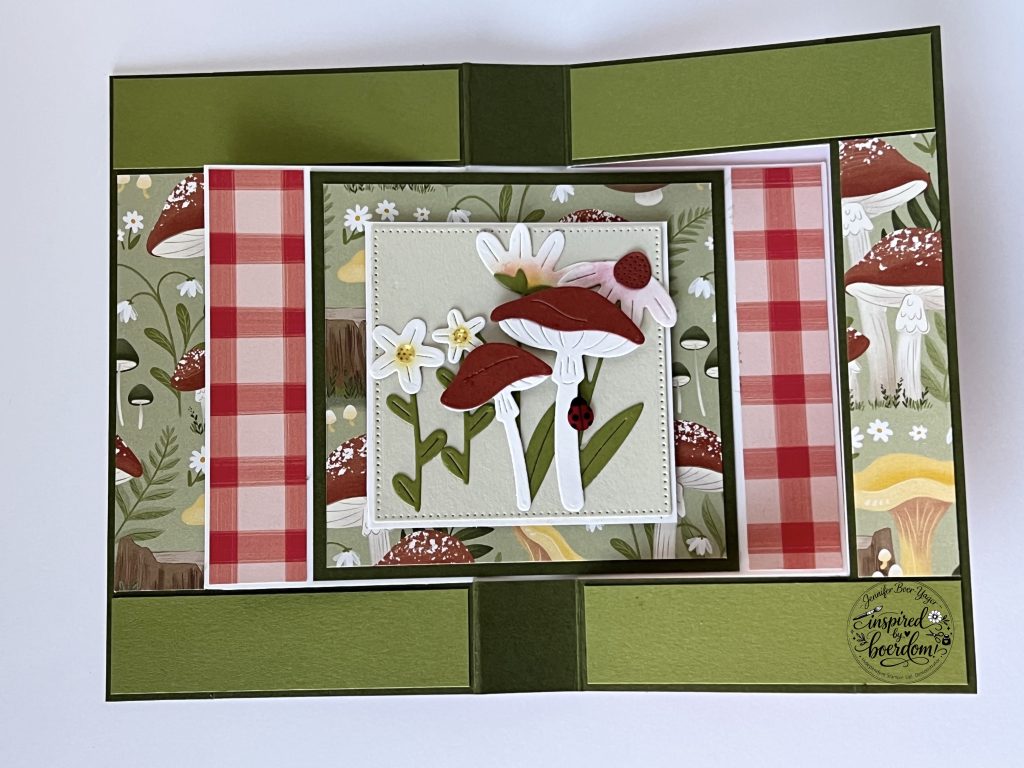
For my project, I created a card with a panel that rotates as the card is pulled out. Each side of panel has an image created with elements from the Cute as a Bug Suite. The result? A card that’s both interactive and utterly adorable!
Step-by-Step: Creating the Swing Fold Card
Materials Used
- Sweet Bugs Dies
- Cute as a Bug Designer Series Paper
- Stylish Shapes dies
- Thick Basic White, Mossy Meadow, Basic Beige and Old Olive Cardstock
- Ladybug Garden Epoxy Shapes
- Daffodil Delight and Pretty in Pink ink
- Adhesive & dimensionals
Prepare the Base
Start by cutting your card base to size — I recommend using thick cardstock to give your swing fold card stability. Score the folds where you want the swing to occur; this will form your main hinge (see template below).
To create the swing mechanism:
- Fold the left dotted line as a mountain fold (fold away from you).
- Fold the right dotted line as a valley fold (fold toward you).
This combination of folds is what allows the panels to swing and rotate as the card is pulled out.
Creating the Image Panels
Next, cut two panels that will feature your stamped images and Designer Series Paper. Make sure the panels fit comfortably within the swing fold mechanism while still allowing movement.
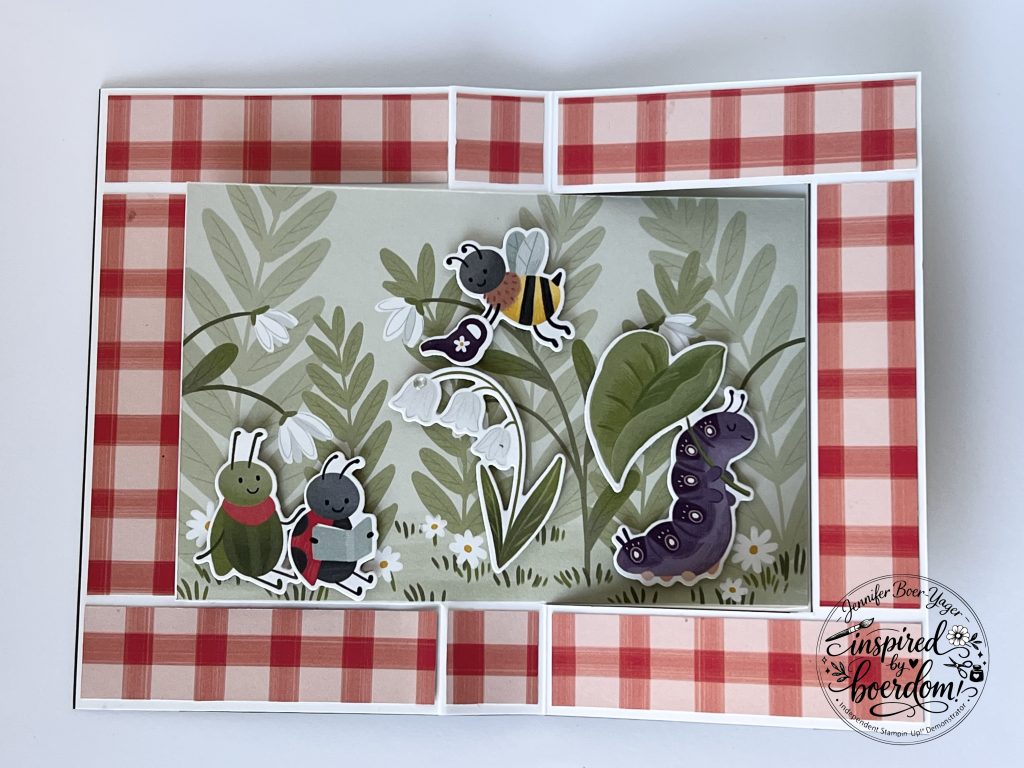
For one panel, I repurposed a piece from the cut-apart sheet of DSP, trimming it down to fit. I then added some of the cute critters from the suite using dimensionals for added depth.
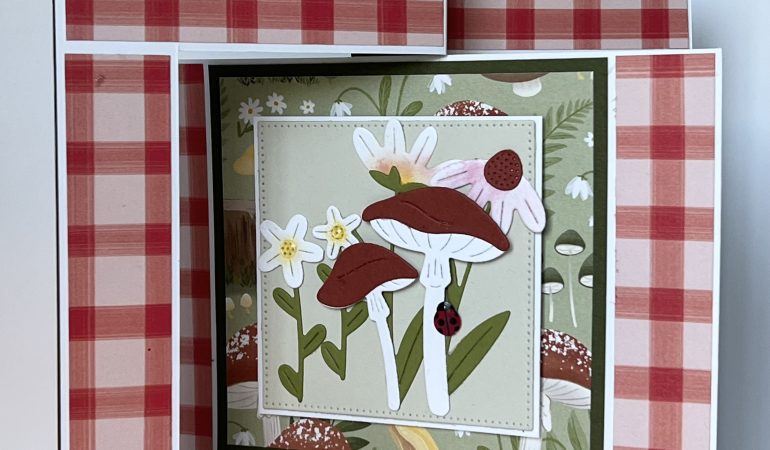
For the front panel of the card:
- Use Mossy Meadow cardstock cut to 10cm x 9.8cm.
- Cut a piece of DSP to 9.5cm x 9.3cm to layer on top.
- Die cut a square from the Stylish Shapes dies in Basic Beige and back it with a slightly larger piece of Basic White cardstock.
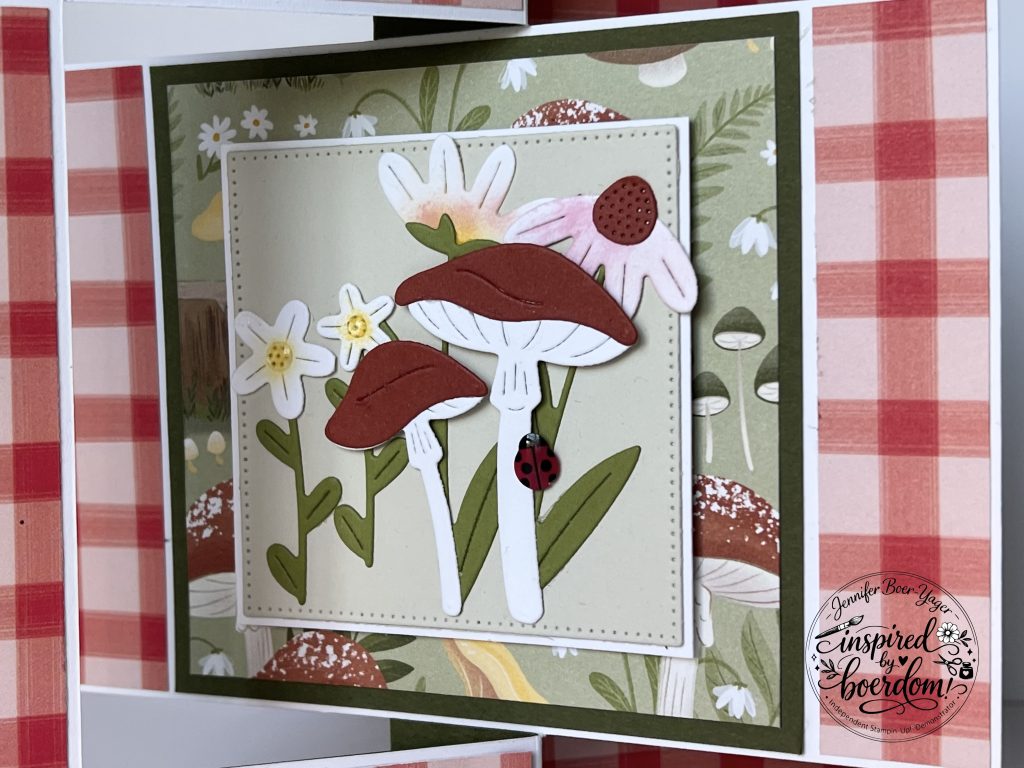
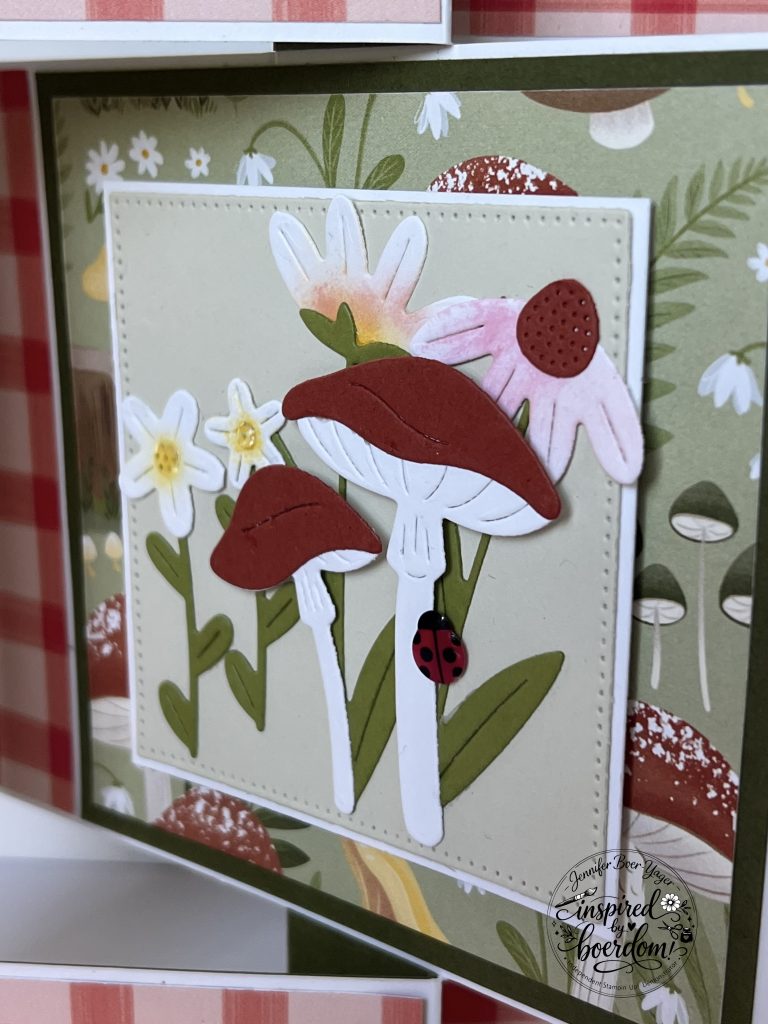
To build the focal image, I die cut floral and mushroom elements using the Sweet Bugs dies and added some blended colour to the flowers for extra dimension.
Adding Edge Panel Pieces
To complete the look of the front panel, I used the gingham print from the DSP for the side panels. Cut the strips 2.2cm wide so that a small white border remains visible once glued in place.
These strips frame the card beautifully and add a cohesive, polished look to the swing fold.
On the back I added Mossy Meadow and Old Olive strips of card stock for a place to write to the recipient.
Assemble the Swing Mechanism
Attach your image panels and side panels to the card base, ensuring they can rotate freely when pulled. Make sure the panel that will be visible on the front of your card is positioned correctly, with the gingham print on either side for a balanced look.
Final Assembly
Secure all layers carefully, then add any finishing touches like the Ladybug Garden Epoxy embellishments. Test the swing motion a few times to make sure everything moves smoothly and the panels rotate as intended.


Template for Your Swing Fold Card
To make it easy to recreate this interactive design, I’ve created a template with measurements and scoring lines:
This template will help you set up your swing fold base and panels perfectly every time.
Final Thoughts
The Cute as a Bug Suite is such a delight to work with, and the swing fold design really brings the critters to life. This interactive card is perfect for birthdays, thank you notes, or just to make someone smile. I’m not sure I’m ready to put this suite away yet! There are just so many fun ideas to make with it!
I hope this inspires you to try a swing fold card — don’t forget to share your creations with me, I’d love to see your adorable bugs in motion! 🐛💛