Welcome!
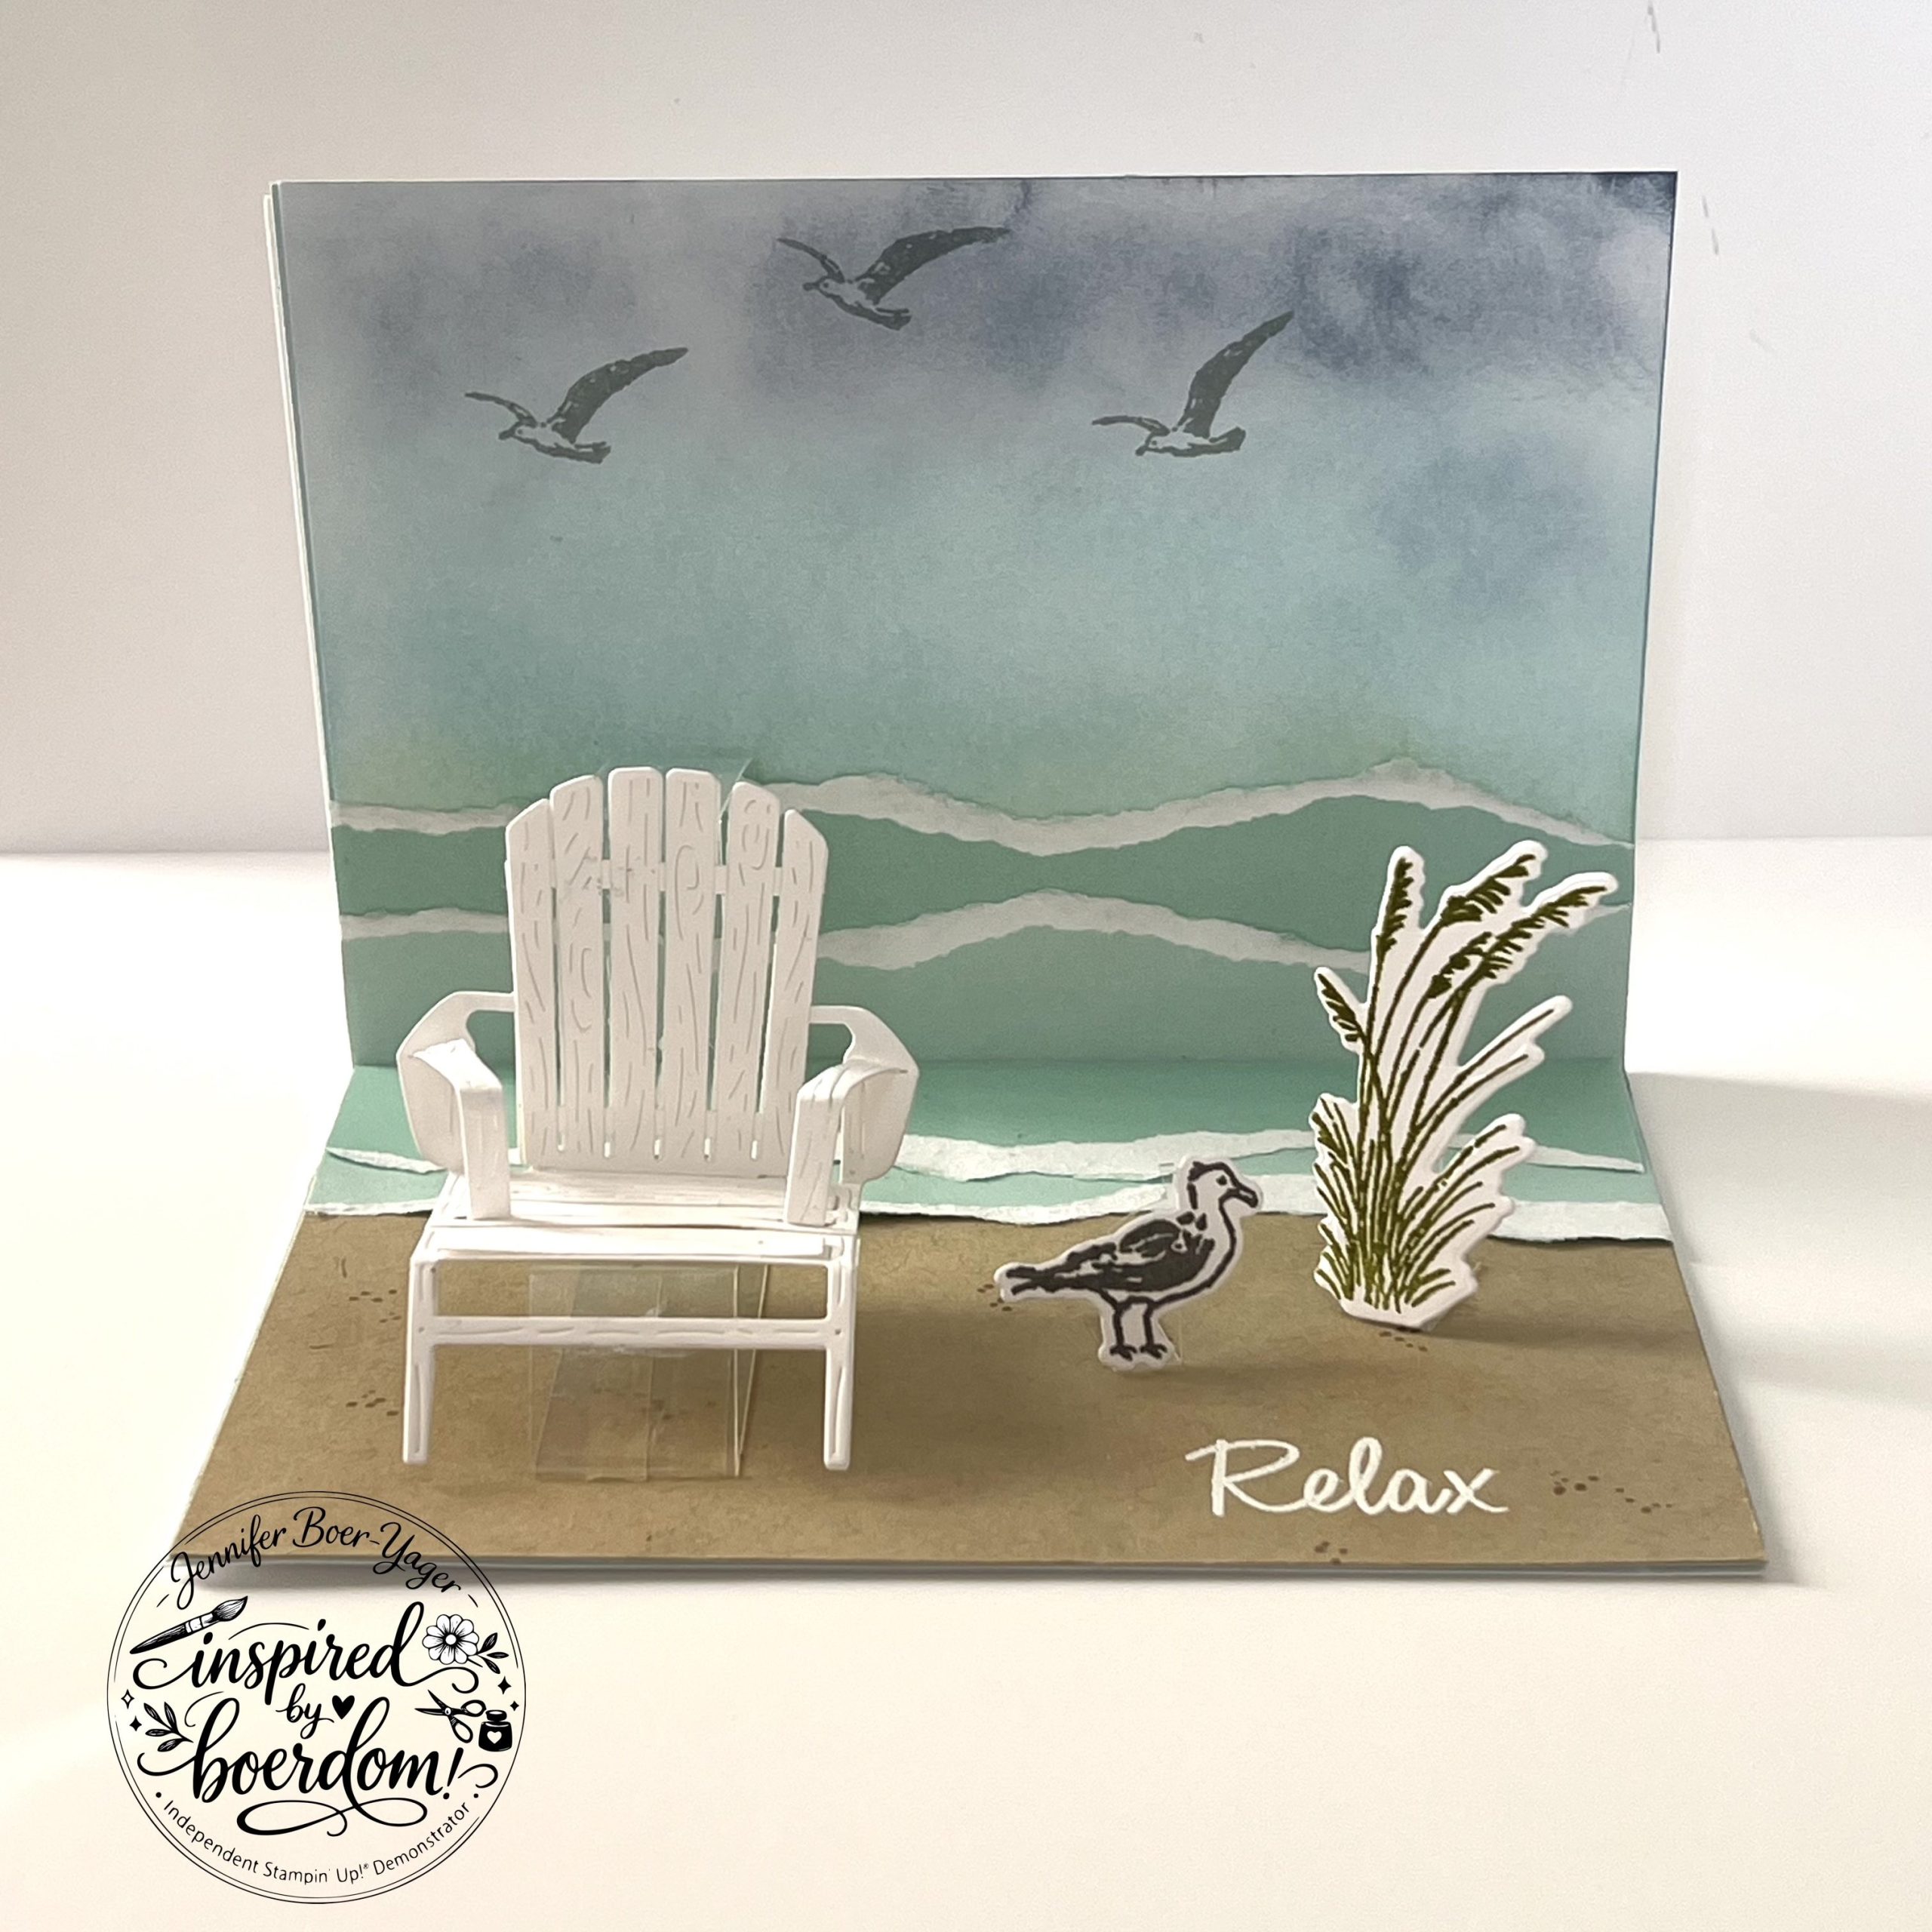
I am so excited to finally be sharing this tutorial with you
Ever since we presented this project at OnStage Sydney, I’ve received so many messages asking if I would create a tutorial. It has definitely been one of my most requested projects, so I’m thrilled that it’s finally here.
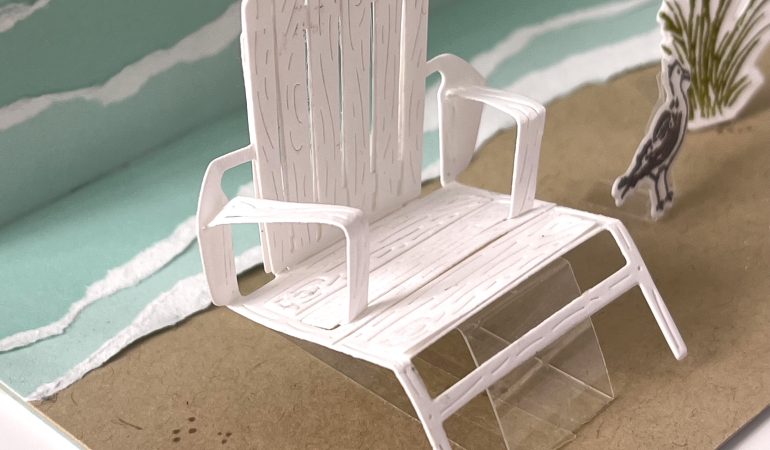
This card began as a simple question when I first saw the preview images for the suite:
“Is there any way to make the chair 3D?”
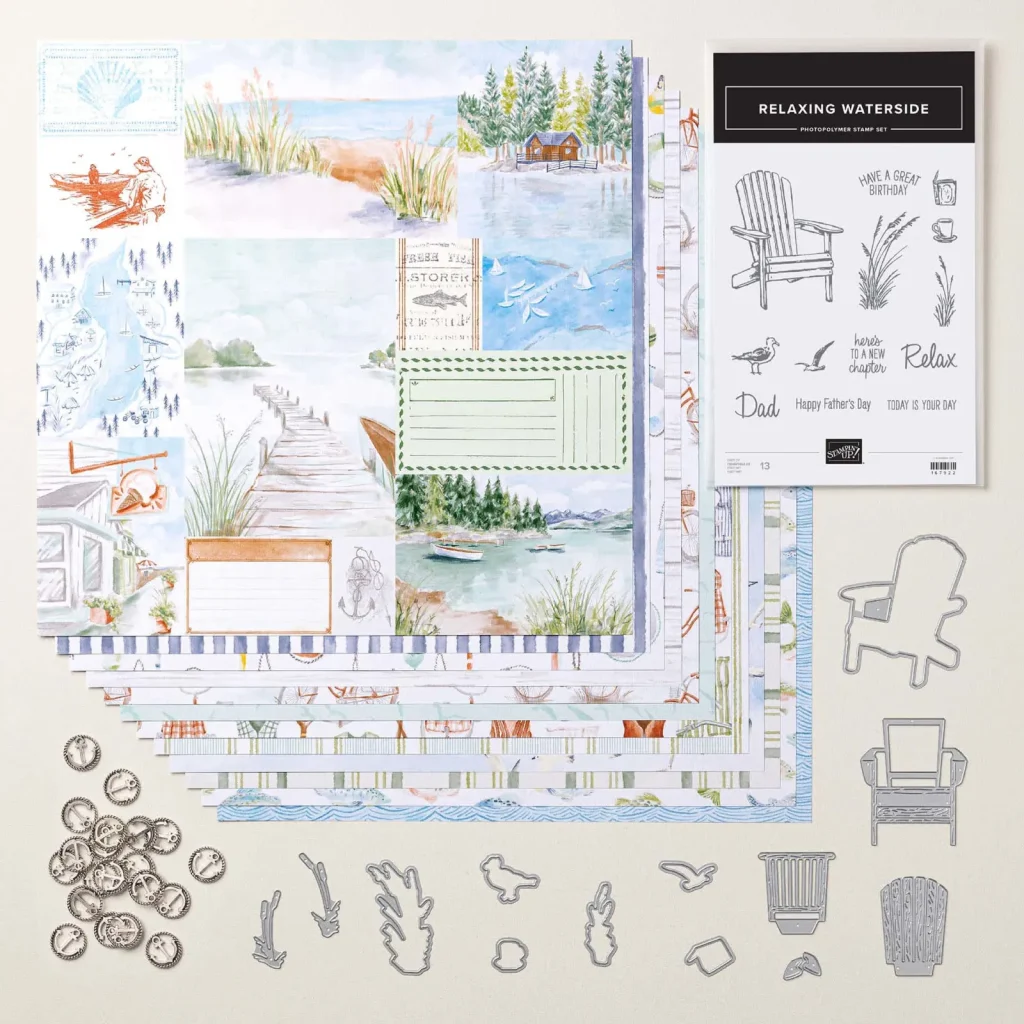
Once that idea was in my head, I couldn’t stop thinking about it. The only problem was… I wasn’t entirely convinced I could actually make it work! I avoided attempting it for quite a while because I knew it would be a challenge.
Eventually, I just decided to give it a go (with a bit of moral support from Mum beside me on one of our crafting days!)
What followed was plenty of trial and error, a lot of experimenting, and more than a few moments where I almost abandoned the project altogether. Every pop-up mechanism I tried either crushed the chair or prevented the card from folding properly. My original vision was for a traditional pop-up card that folded completely flat, but the delicate construction of the chair simply wouldn’t cooperate. Let’s just say, this all resulted in a messy desk and almost a few prototypes thrown out the window!

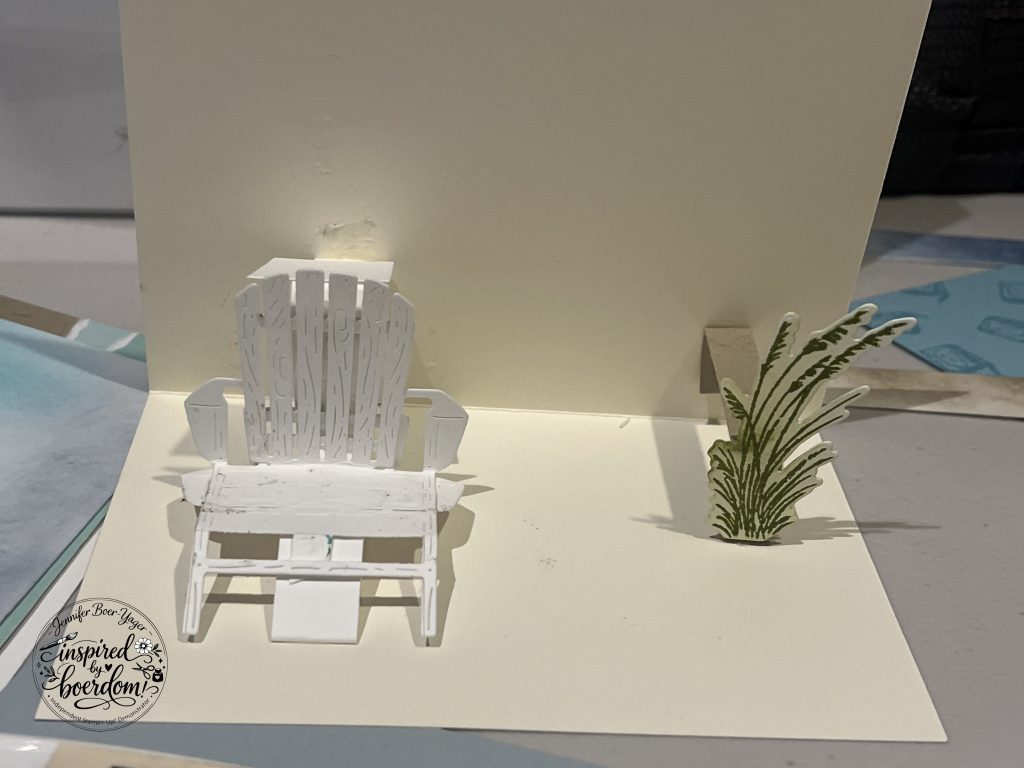

In the end, I took a different approach, and I actually love the result. While the card doesn’t close completely flat for mailing, the chair folds down beautifully as the card is closed and springs back into shape when opened. It’s the perfect card to hand-deliver to someone special and always creates a wonderful surprise! It’s also perfect to put on display as a decor piece!

If you’re looking through the tutorial and thinking the mechanism looks complicated, don’t be discouraged. I’ve broken everything down into small steps and included plenty of photographs to guide you through each stage. Take your time, build the card scene first, then the chair, then the mechanism, and you’ll be amazed at the finished result!
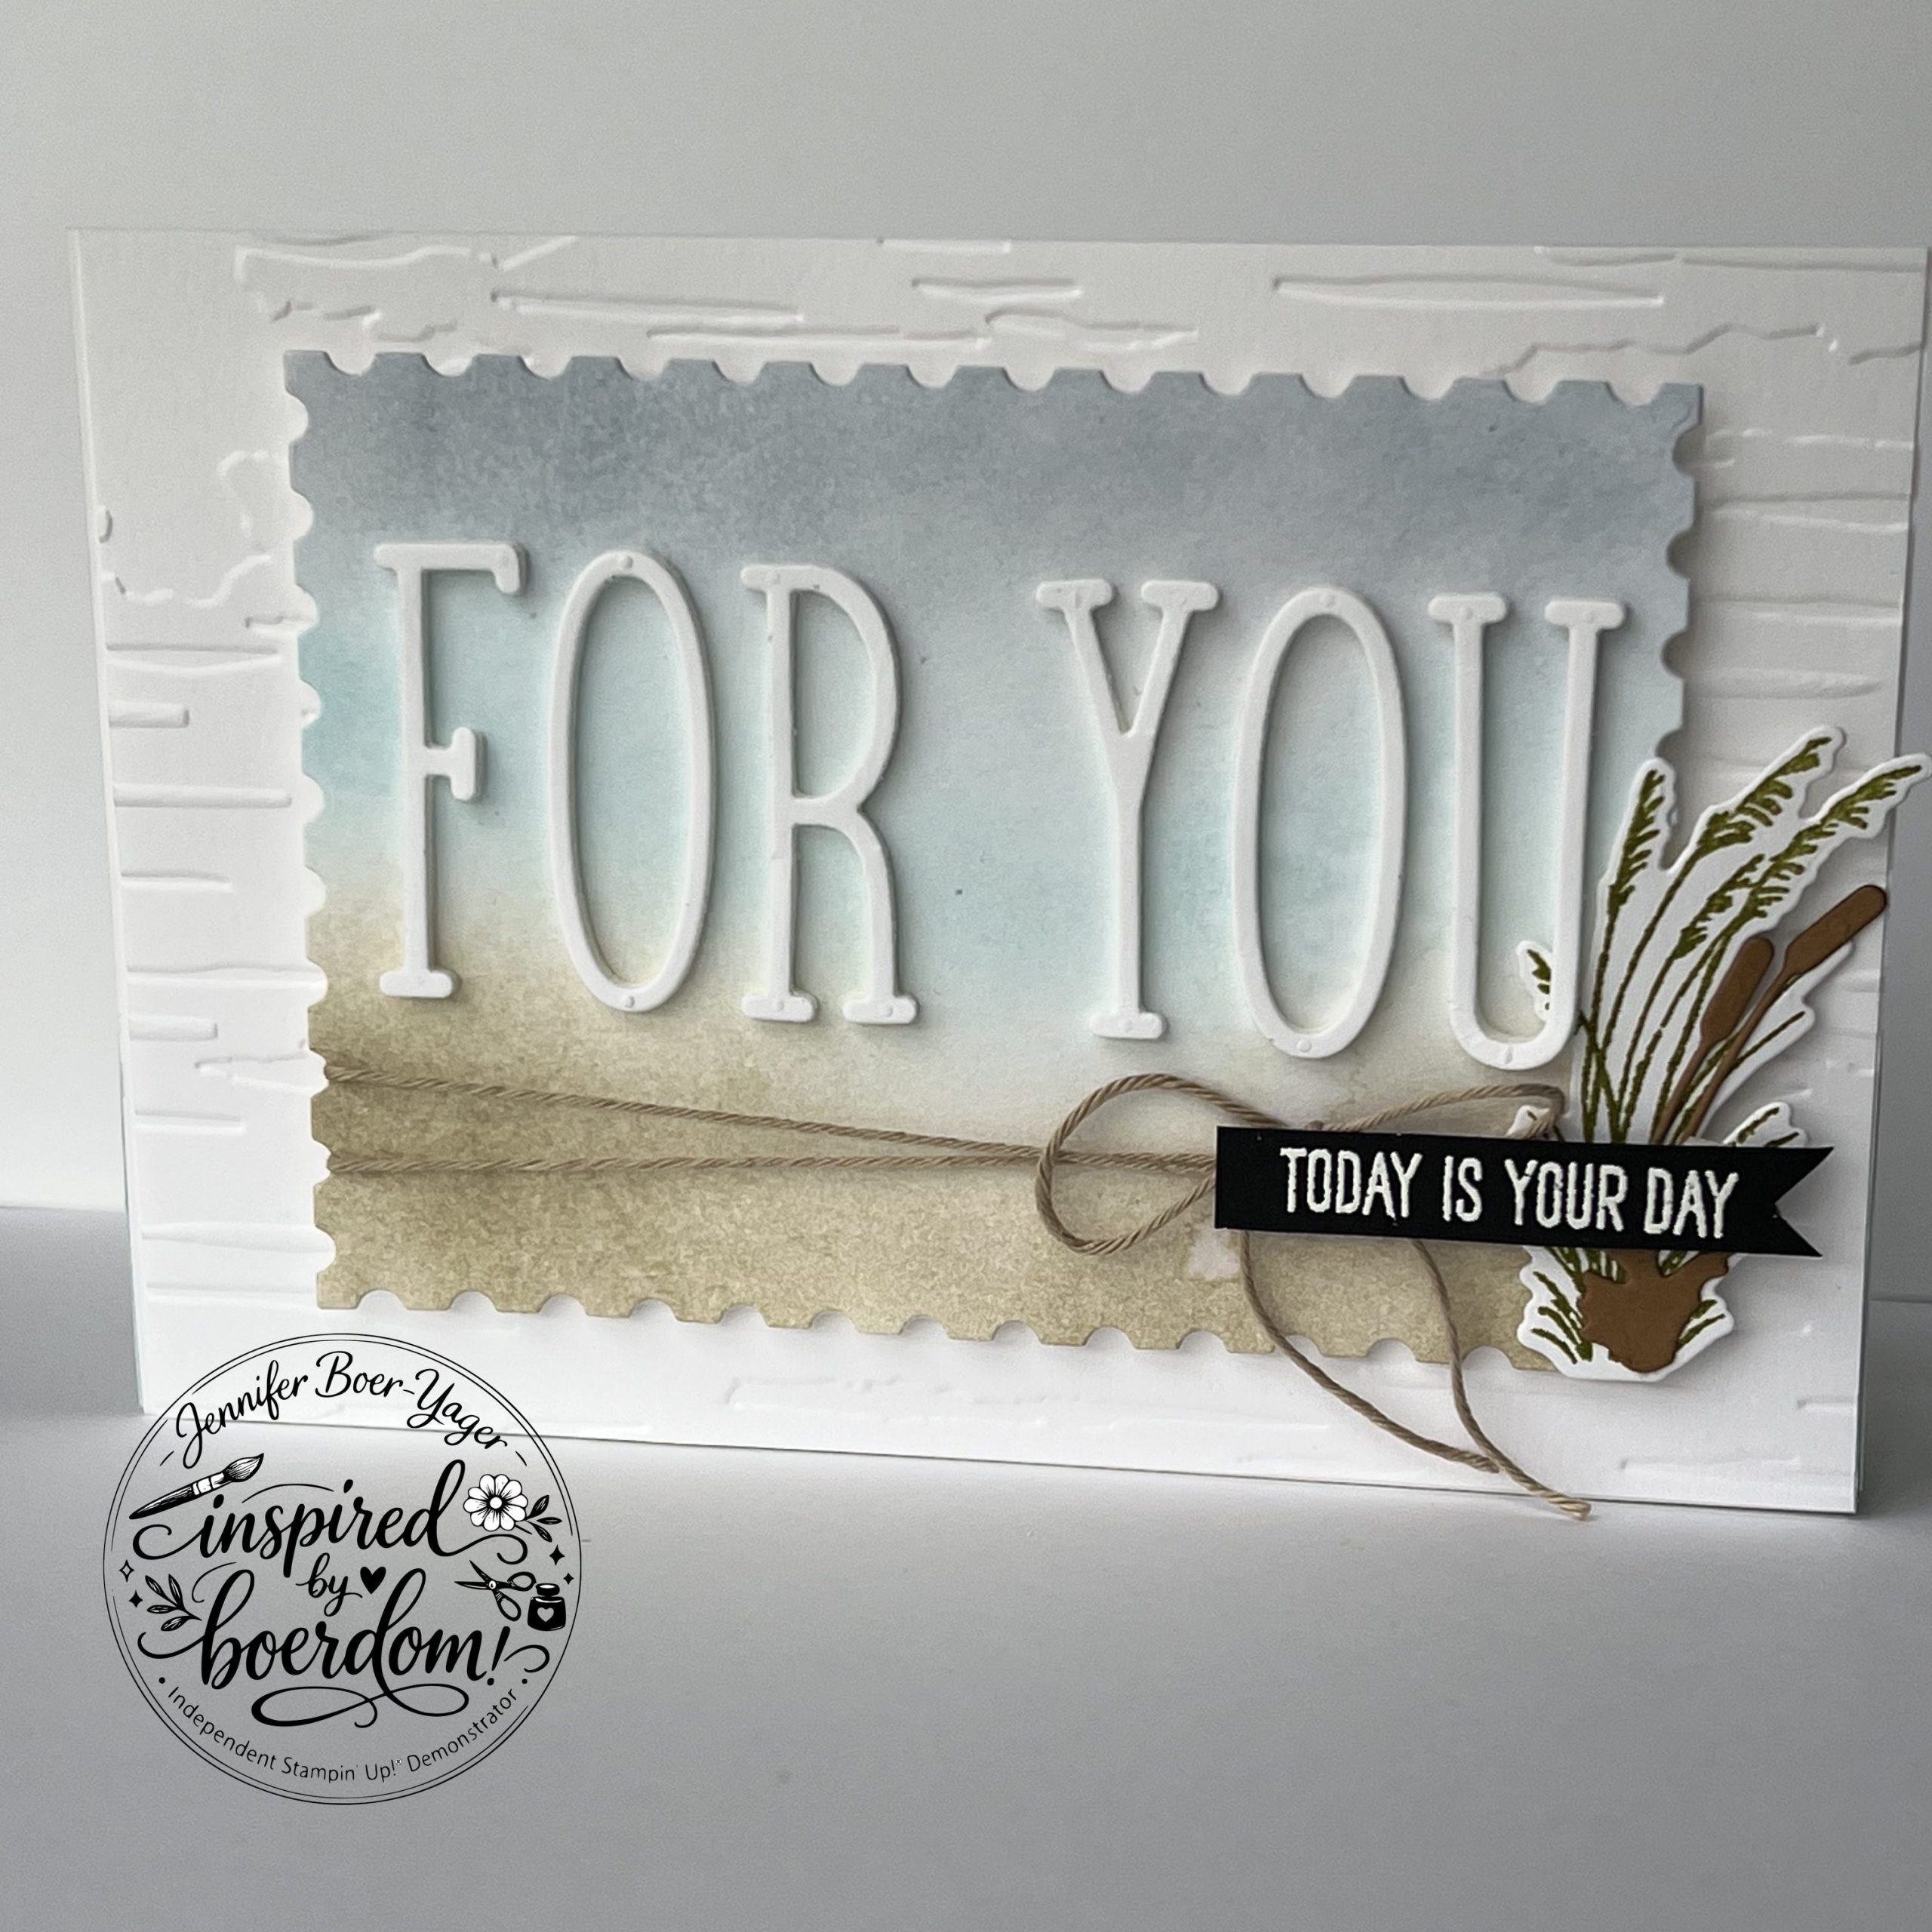
I hope you enjoy creating this card as much as I enjoyed designing it. If you make one, I’d absolutely love to see it. Be sure to tag me on social media so I can admire your creation!
If you would like to create your own 3D Beach Chair Card, you can purchase my full-colour, photographic tutorial by clicking the link below.
I can’t wait to see what you create!
Jen x
General Tutorial Information
This detailed PDF tutorial includes step-by-step written instructions, clear colour photographs, a complete supply list, measurements, and assembly instructions to guide you through every stage of creating this interactive card. Originally designed for our presentation at the 2026 Sydney Stampin’ Up! OnStage event using the Waterside Retreat Suite, this project features a unique folding 3D deck chair that creates a stunning surprise when the card is opened.
I hope you enjoy making this card as much as I enjoyed designing it, and I’d love to see your finished creation! If you share it on social media, don’t forget to tag me so I can admire your work.
Please note: This purchase is for the PDF tutorial only. No physical products are included. However, the supplies you will need are listed below!
Skill Level: Intermediate to Advanced
This project contains several moving parts and an interactive mechanism. I recommend reading through the entire tutorial before you begin and dry-fitting pieces before gluing them permanently. Taking your time with each stage will help ensure your chair folds smoothly.
Supplies
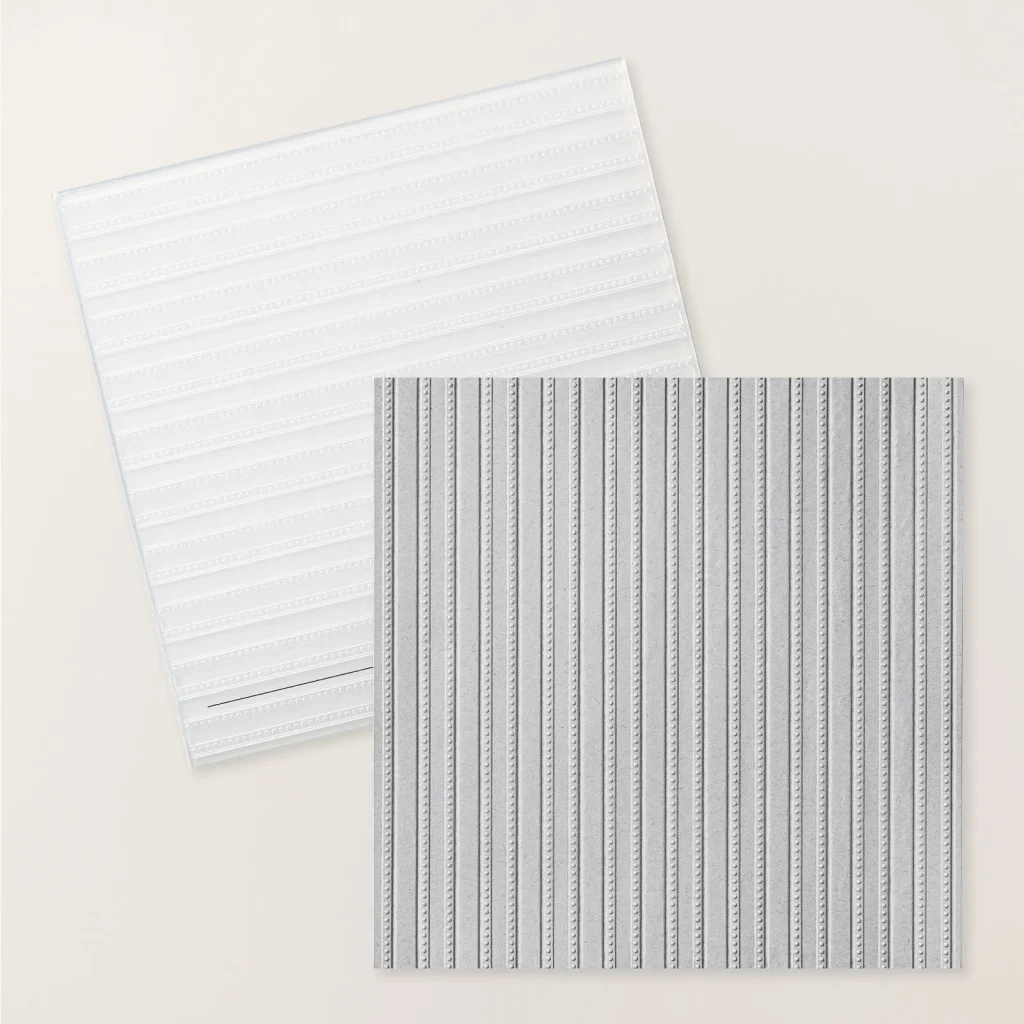
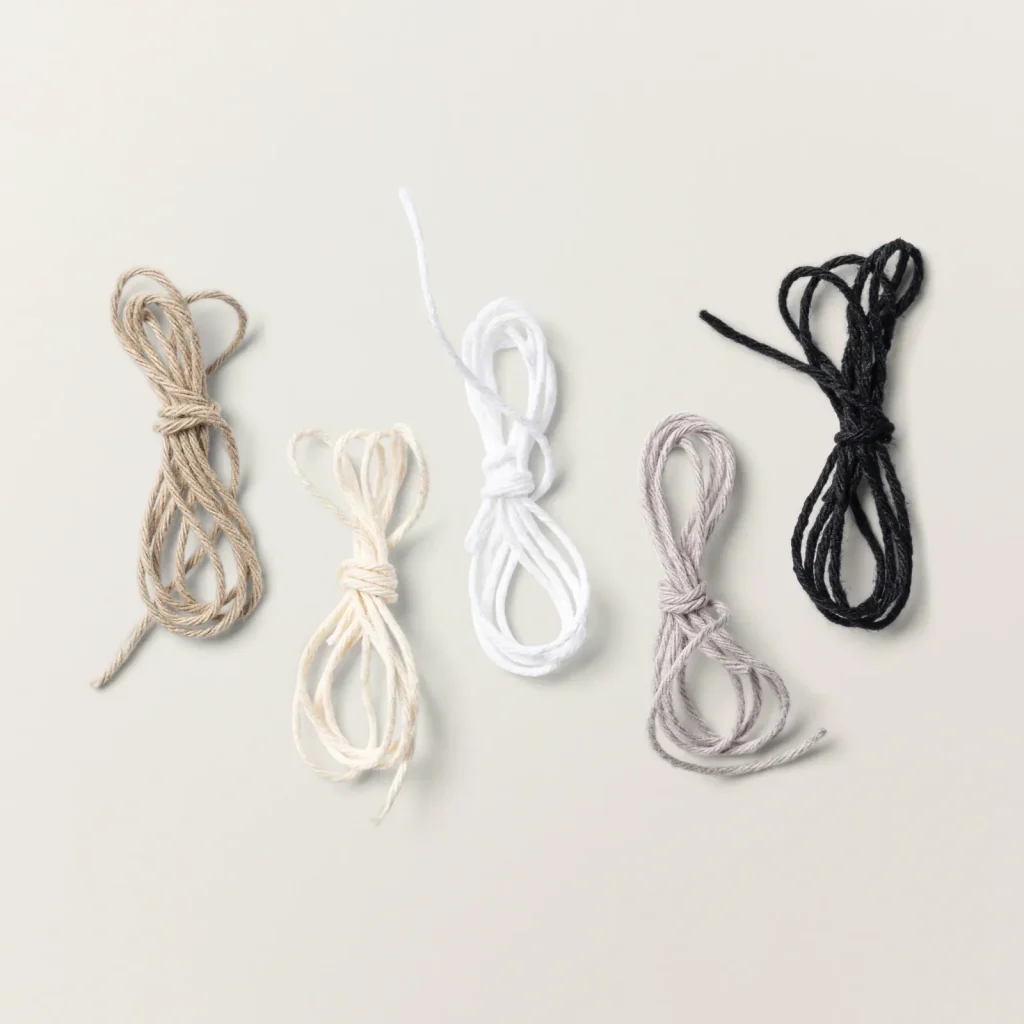
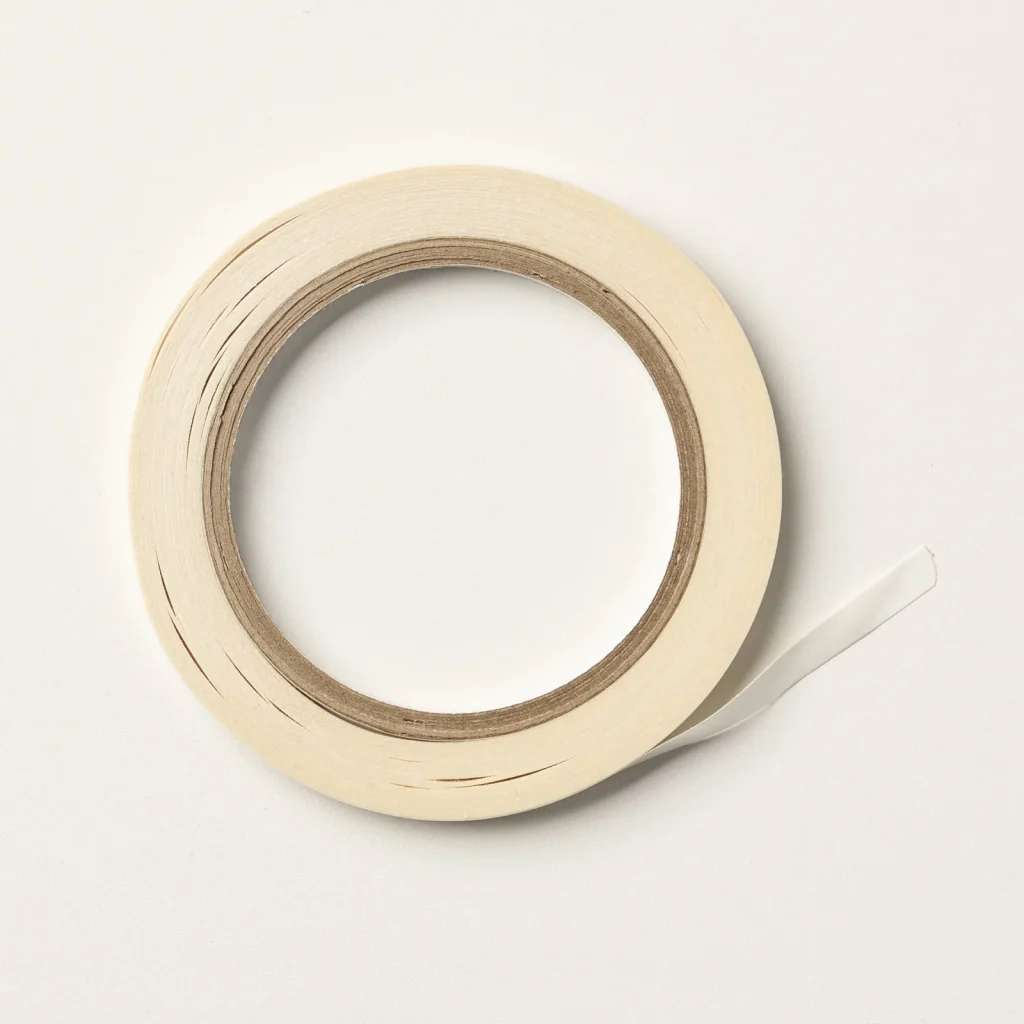
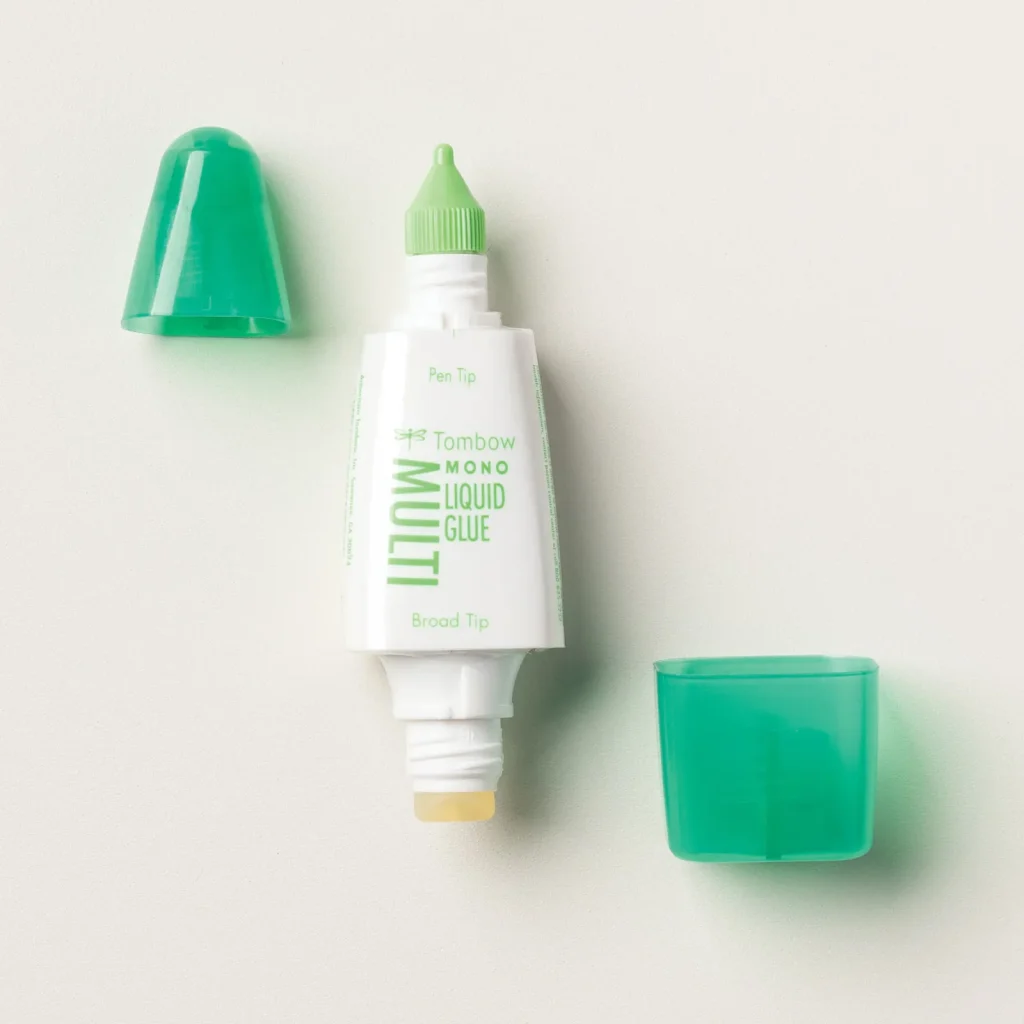
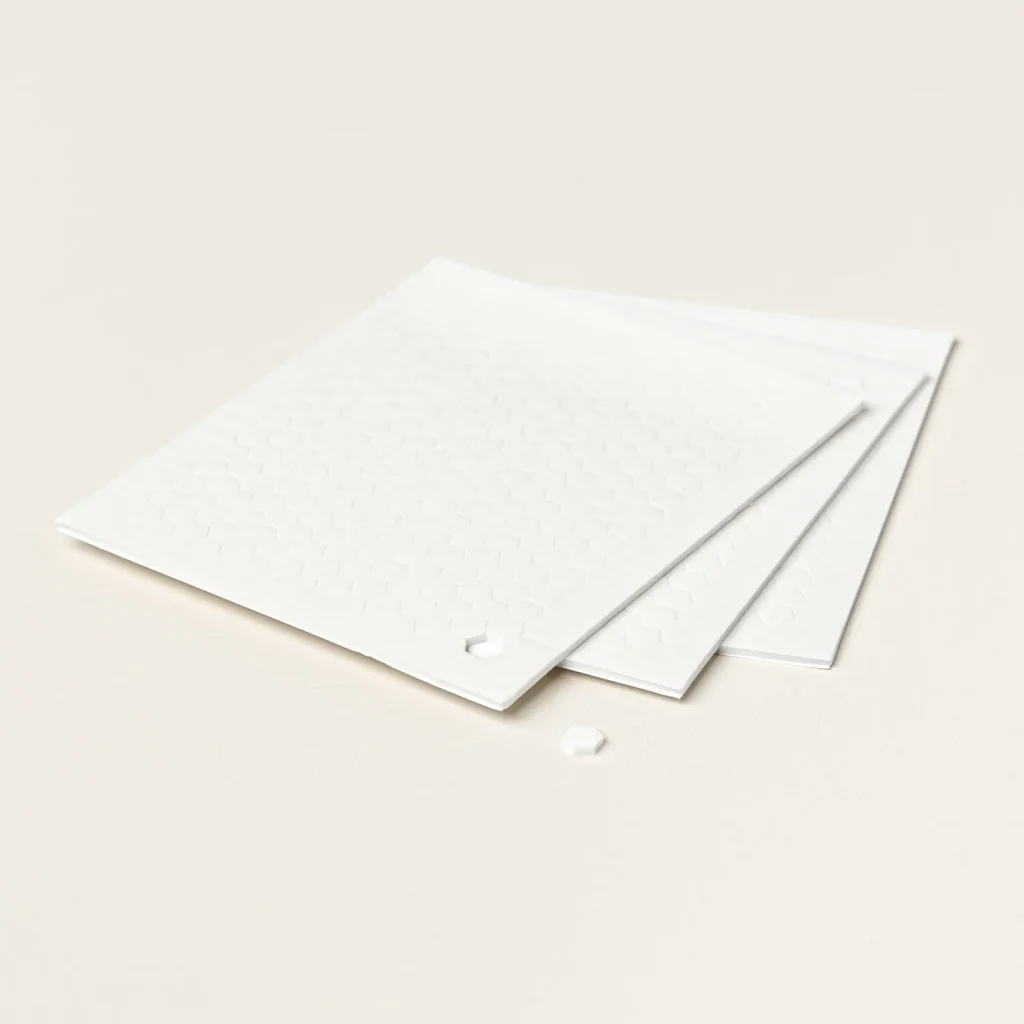
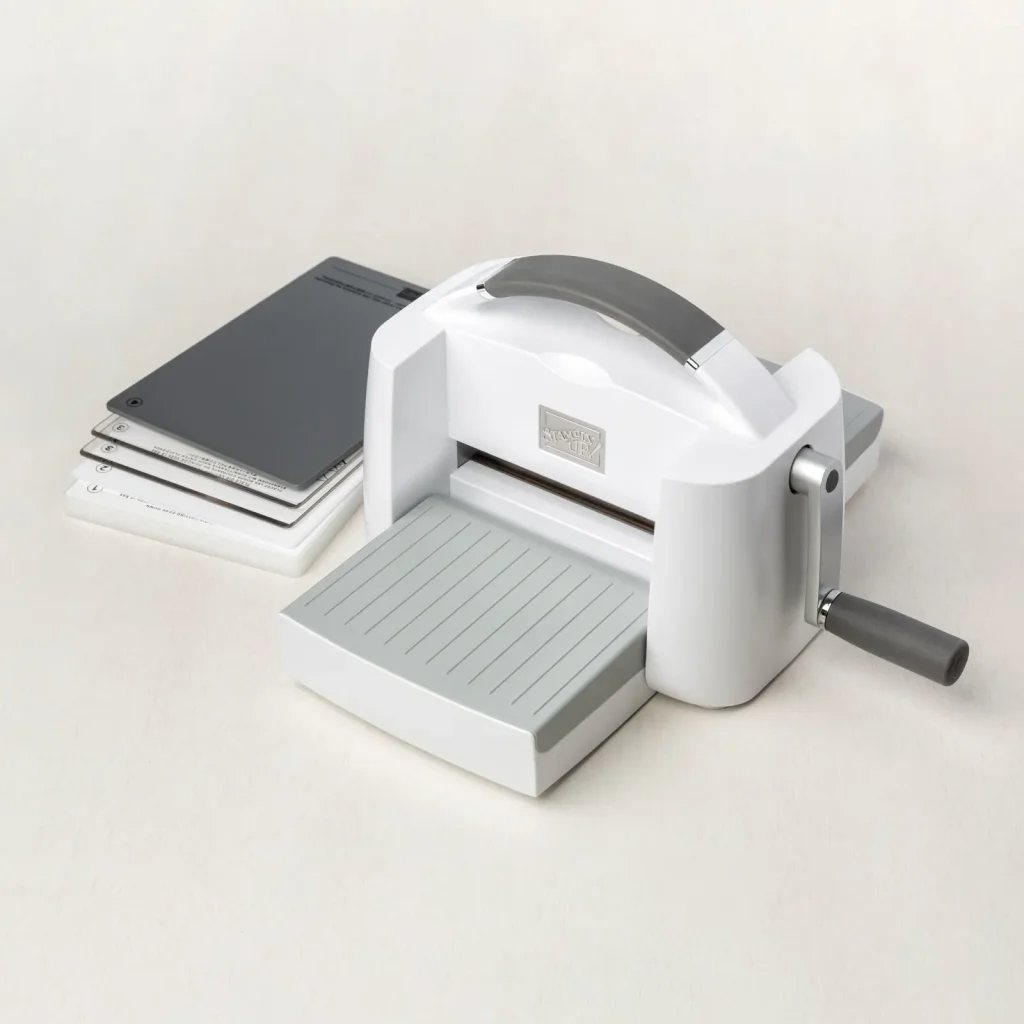
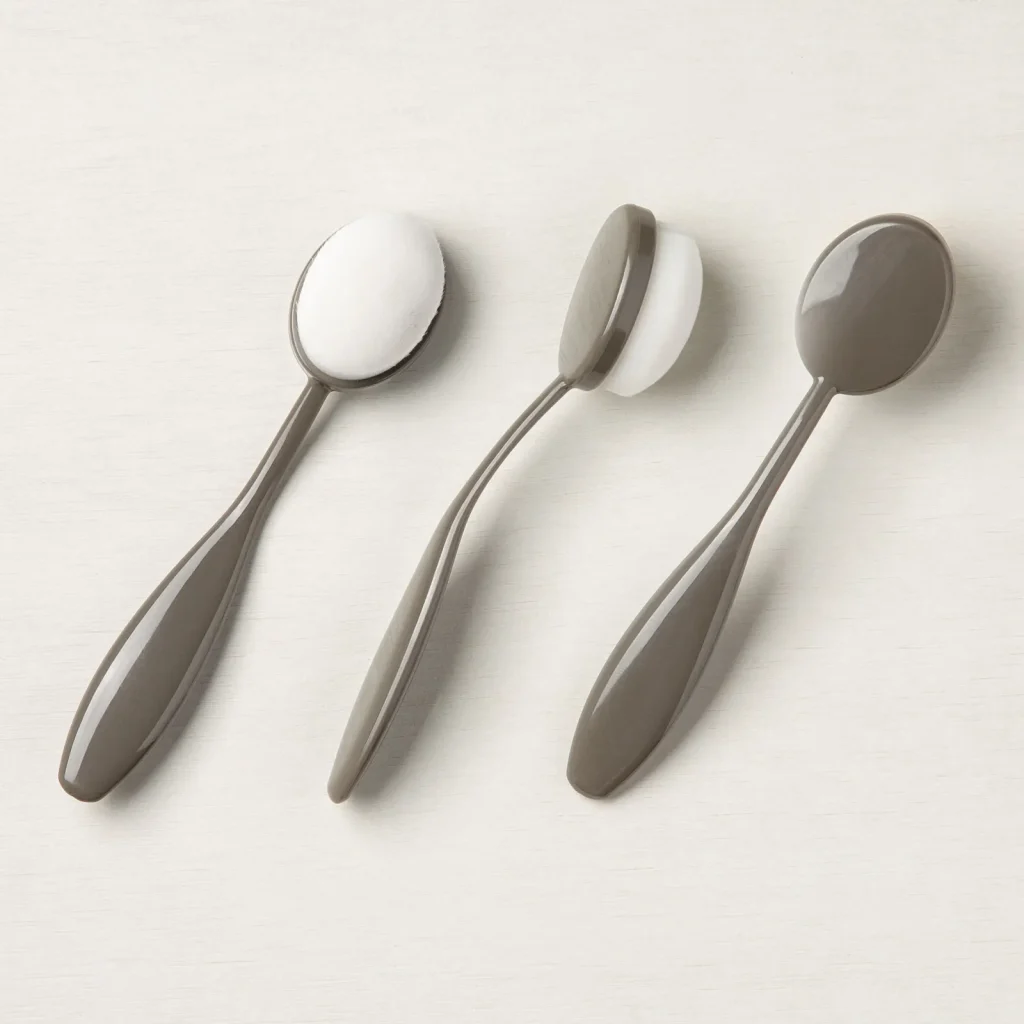
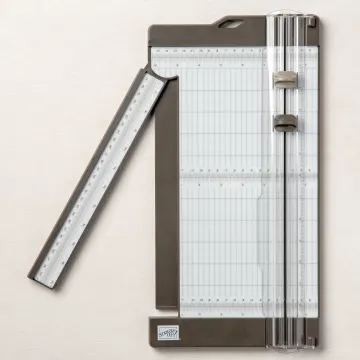
These are the supplies you will need for the beach chair!
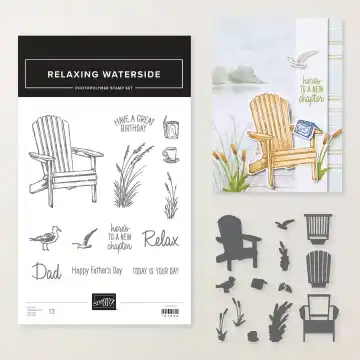
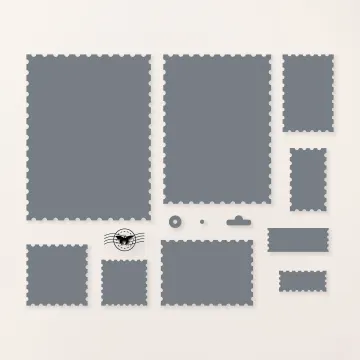
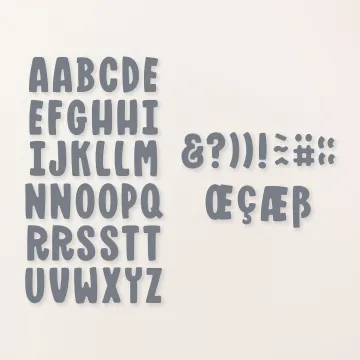
(original sample uses Alphabet A La Mode)